
Building Your Backyard in Pieces? Why Planning Every Hardscape Element as One Build Gets Better Results
QUICK ANSWER: Planning patios, walkways, seating walls, outdoor kitchens, and fire features as one connected build keeps every elevation, joint line, and cap height consistent, and it lets drainage be designed once for the whole property instead of patched section by section. You can still build in phases across several seasons. The key is to fix the final grades, layout, and water paths for the entire backyard at the start, then construct each phase to match. On Piedmont red clay with around 44 inches of rain a year, that single plan is what keeps a terrace laid this year lined up with a wall added later.
A homeowner walks out the back door on a wet Saturday morning and stops at the edge of the patio. The pavers are fine. The wall beside them is fine. But the new step lands half an inch above the old landing, the cap on the wall is a different color than the border, and a shallow pool of water sits where the two surfaces meet. Nothing is broken. Nothing was built badly on its own. The problem is that each piece was planned as if the others did not exist.
This is how many backyards come together. A patio goes in one year, a fire pit the next, a retaining wall when a slope starts to slide, an outdoor kitchen when the budget of time and energy allows. Each addition makes sense. Together they rarely agree. Planning the whole outdoor space as one connected build, even if you construct it in stages, avoids that outcome and usually produces a calmer, more usable backyard.
What "One Connected Build" Actually Means
Connected planning does not mean doing everything at once. It means deciding the shared facts of the property before the first shovel goes in, and then holding every later phase to those decisions.
Shared Elevations
Coordinate door thresholds, steps, retaining walls, terraces, and kitchen counters early so current and future construction phases align perfectly.
Shared Drainage
Plan complete water flow from downspouts to low points, ensuring future additions never obstruct drainage or create standing water.
Shared Materials and Details
Choose joint patterns, edge treatments, cap profiles, and stone colors together to maintain visual consistency throughout the outdoor space.
Shared Utilities
Install gas lines, electrical wiring, water pipes, and lighting conduits before paving to avoid costly cutting during future construction.
Why This Matters on Piedmont Clay
Fort Mill and the surrounding Charlotte region collect roughly 44 inches of rain across about 99 wet days each year. Red clay holds that water rather than absorbing it. Any surface set on raw subgrade will heave, pitch, and open its joints within a few wet seasons, which is why base construction is the part of a hardscape project that decides its lifespan.
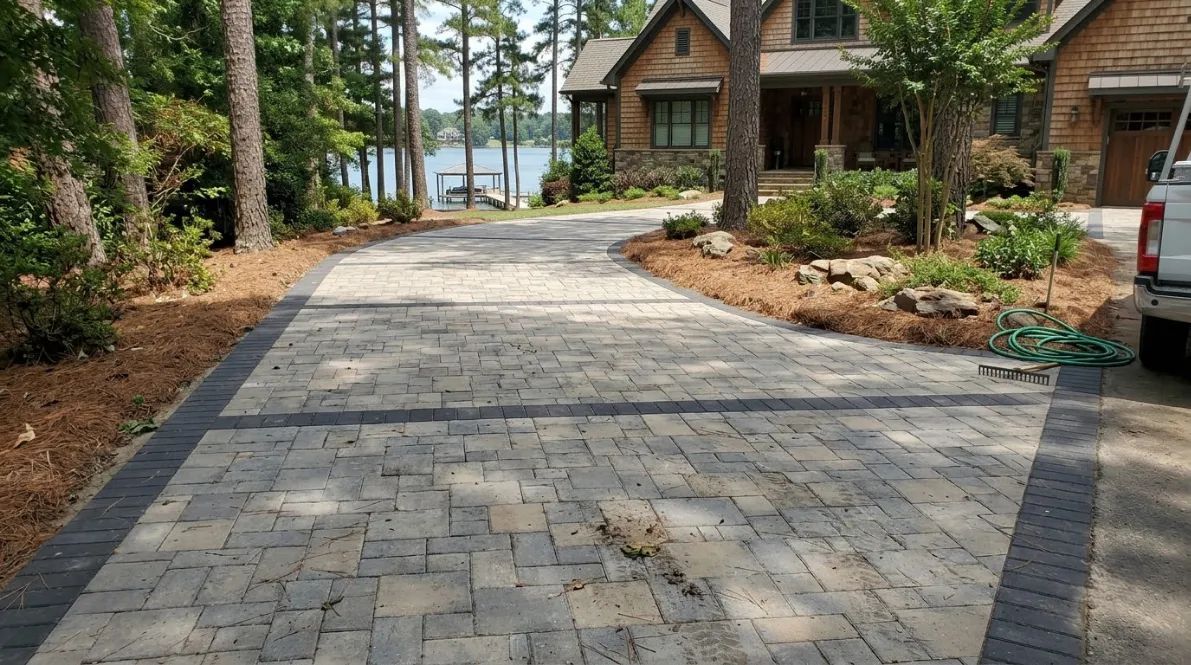
Industry installation guidance for interlocking concrete pavements calls for a compacted aggregate base placed in lifts of about four to six inches, with the overall base thickness set by soil strength, drainage, and the loads the surface will carry. Walkways and patios sit at the lighter end of that range, while driveways need a deeper base. Edge restraints hold the whole system together by keeping the pavers from spreading outward under traffic.
Those details are easy to get right on a single patio. They become harder when separate additions are built at different times on ground that has been disturbed in between. Excavation for a wall footing can undermine the edge of an existing terrace. A kitchen footing set after the patio is finished may require cutting out a section of paving. Planning the sequence for the whole property keeps every excavation, every base, and every compacted lift working with its neighbors rather than against them.
The Pieces That Have to Work Together
Most outdoor living spaces draw from the same set of components. Each one affects the others.
Paver Patios and Terraces
Design terraces around door thresholds and sight lines, using stable bases that prevent low spots beneath furniture, planters, and foot traffic.
Walkways and Connecting Paths
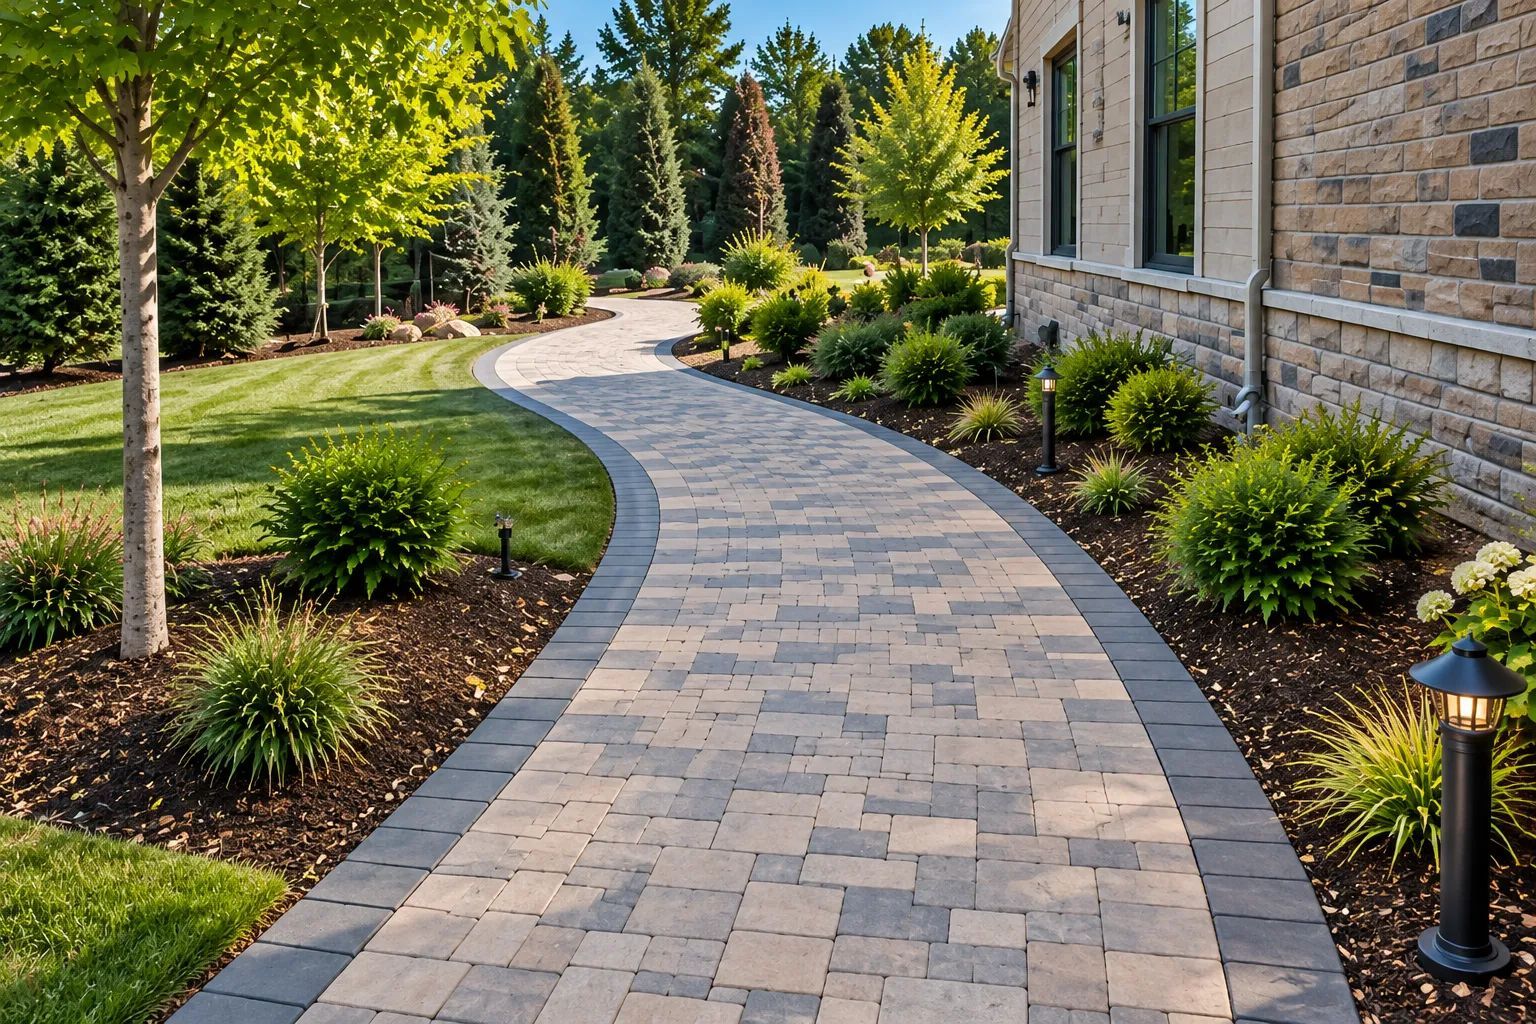
Create clear, three-to-four-foot-wide paths with matching joints, consistent finishes, and secure edges to connect outdoor spaces naturally.
Seating and Retaining Walls
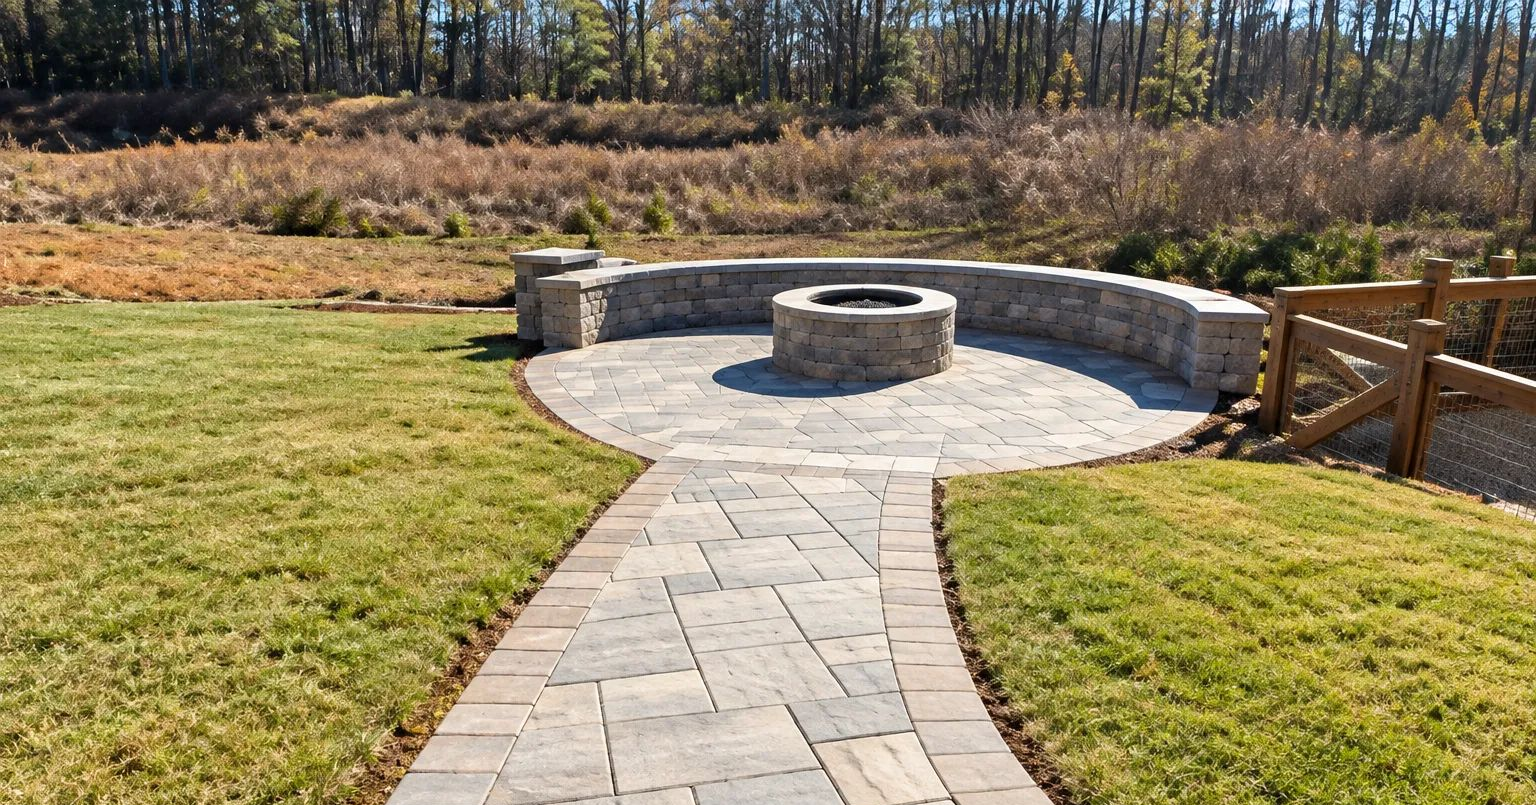
Combine retaining walls with seating by coordinating wall heights, terrace levels, and drainage to support comfort and structural stability.
Outdoor Kitchens and Bar Counters
Build weather-resistant outdoor kitchens sized for actual appliances, using durable framing, veneer, and countertops that withstand humidity, sunlight, and grill heat.
Fire Pits and Outdoor Fireplaces
Use heat-rated materials, compacted footings, and proper ventilation, maintaining at least three feet between fire features and surrounding seating.
Poolside Paving
Choose slip-resistant paving and slope the base away from pool edges to prevent standing water near coping and lounge areas.
TIP: Before approving any layout, mark the footprint of each element on the ground with string, stakes, or spray paint, then set out your actual furniture and walk through a normal evening. You will notice pinch points, awkward door swings, and sight line problems that never showed up on paper.
Building in Phases Without Losing the Plan
Many properties are too large, or the schedule too busy, to build everything in one season. That is a perfectly workable approach as long as the plan is complete before the first phase begins.
Fix the Final Grades First
Establish finished elevations for every planned surface immediately, including future additions, to prevent mismatches between independently constructed phases.
Build the Structure Before the Surfaces
Construct walls, footings, and kitchen framing while access remains open, preventing heavy equipment from crossing completed terraces.
Leave Sleeves and Stub Outs
Install capped conduits, gas and water pipes, and drainage lines early to simplify future connections and avoid cutting finished paving.
Order the Work Sensibly
Complete hardscaping before planting, sod, and mulch, keeping heavy equipment away from finished landscaping and protecting soil structure.
Record What Was Built
Maintain layout drawings, elevation measurements, and utility locations so future construction phases proceed accurately without unnecessary guesswork.
Starting With the Site, Not the Catalog
A good plan begins by reading the property. Where does water arrive and where does it leave? How much fall exists between the house and the low corner? Which trees and utility lines limit the footprint you actually have? Where does afternoon sun hit, and where would a pergola or shade structure make the most difference?
Land assessment of this kind is the first step in any well run outdoor project, and it shapes everything that follows. A sloped lot may call for tiered walls that also serve as seating. A flat lot with poor drainage may need a subtle regrade before any paving is considered. A shaded corner may suit a fire feature, while a sunny exposure suits the kitchen and dining area. Tree roots deserve particular attention. Large surface rooting species near new paving are a real risk over time, so the footprint may need to shift, the base may need to go deeper, or a root barrier may be warranted instead of paving over a root plate.
WARNING: Do not start surface work, such as laying pavers or setting caps, before the ground beneath it is finished. Base material that is rushed, compacted in a single deep pass, or placed on wet clay will settle unevenly, and the problem will not show until the first rainy season.
What Good Coordination Looks Like on the Ground
When a hardscape project is planned as one build, the process tends to follow a recognizable order.
Walking the Site
Inspect the property’s drainage paths, slopes, existing trees, and utilities before preparing any landscape design.
Setting Layout and Elevations
Use stakes and string lines to establish dimensions, setting finished heights against door sills, steps, and existing grades.
Excavation and Base Construction
Remove unstable soil completely, then install crushed aggregate in measured layers, compacting each mechanically for stability.
Structural Elements Before Surfaces
Build retaining walls, footings, and outdoor kitchen framing while equipment access remains open and unobstructed.
Surfaces, Joints, and Edges
Set pavers and stone against restraints, secure joints, and cut borders and treads to align precisely.
Final Grade and Handover
Restore drainage-friendly grades, clean planting bed edges, clear debris, and inspect completed work with the owner.
Frequently Asked Questions
Can an outdoor living project be built in phases?
Yes, and on larger properties it often should be. The condition is that final elevations, drainage paths, and utility routes for the whole layout are set at the start. A terrace built this year will then still meet a wall or kitchen added later.
What order should hardscaping and planting be done in?
Hardscaping goes first. Excavators, aggregate deliveries, and compaction equipment need open access, and running them across finished beds damages the soil. Planting, sod, and mulch follow once walls, paving, and grading are complete.
How much slope does a patio need to drain properly?
About a quarter inch of fall per foot moves water off a paved surface without the pitch being noticeable underfoot. Flatter than that and water sits in the joints. Steeper and outdoor furniture can feel unsteady.
What is the difference between hardscaping and softscaping?
Hardscape covers the built, non living elements: paving, walls, steps, kitchens, and fire features. Softscape covers plants, trees, sod, and the soil itself. Most finished properties need both, and the hard elements set the frame that planting then fills.
Will tree roots lift a new patio or walkway?
They can, particularly large surface rooting species growing close to paving. Mapping root zones during the site walk lets the footprint shift, the base go deeper, or a barrier be added rather than paving directly over a root plate.
When is the best time of year to build an outdoor space here?
Work runs nearly year round in this climate. Late fall through early spring is often ideal because the ground is workable, schedules are more open, and a finished space is ready when spring arrives. Larger builds are commonly planned over winter and installed before the weather turns warm.
One Plan Keeps Every Backyard Element Aligned
The difference between a backyard that feels finished and one that feels assembled rarely comes down to any single element. It comes down to whether the terrace, the walls, the kitchen, the fire feature, and the water paths were decided together. Mismatched caps, a step that lands half an inch off, and a low corner nobody planned for are all signs of pieces built without a shared plan. Good outdoor spaces read as one intention rather than a series of separate decisions.
With 25
years of experience serving the Charlotte region, Taylor Made Dreamscapes
has seen how well phased projects turn out when the groundwork is settled first. Large properties are often built across several seasons, and that works when elevations, drainage, and layout are fixed at the start. Each new phase then has something solid to follow. The terrace laid this year meets the wall added later, and the whole space settles into a single, lasting shape.
Recent Posts